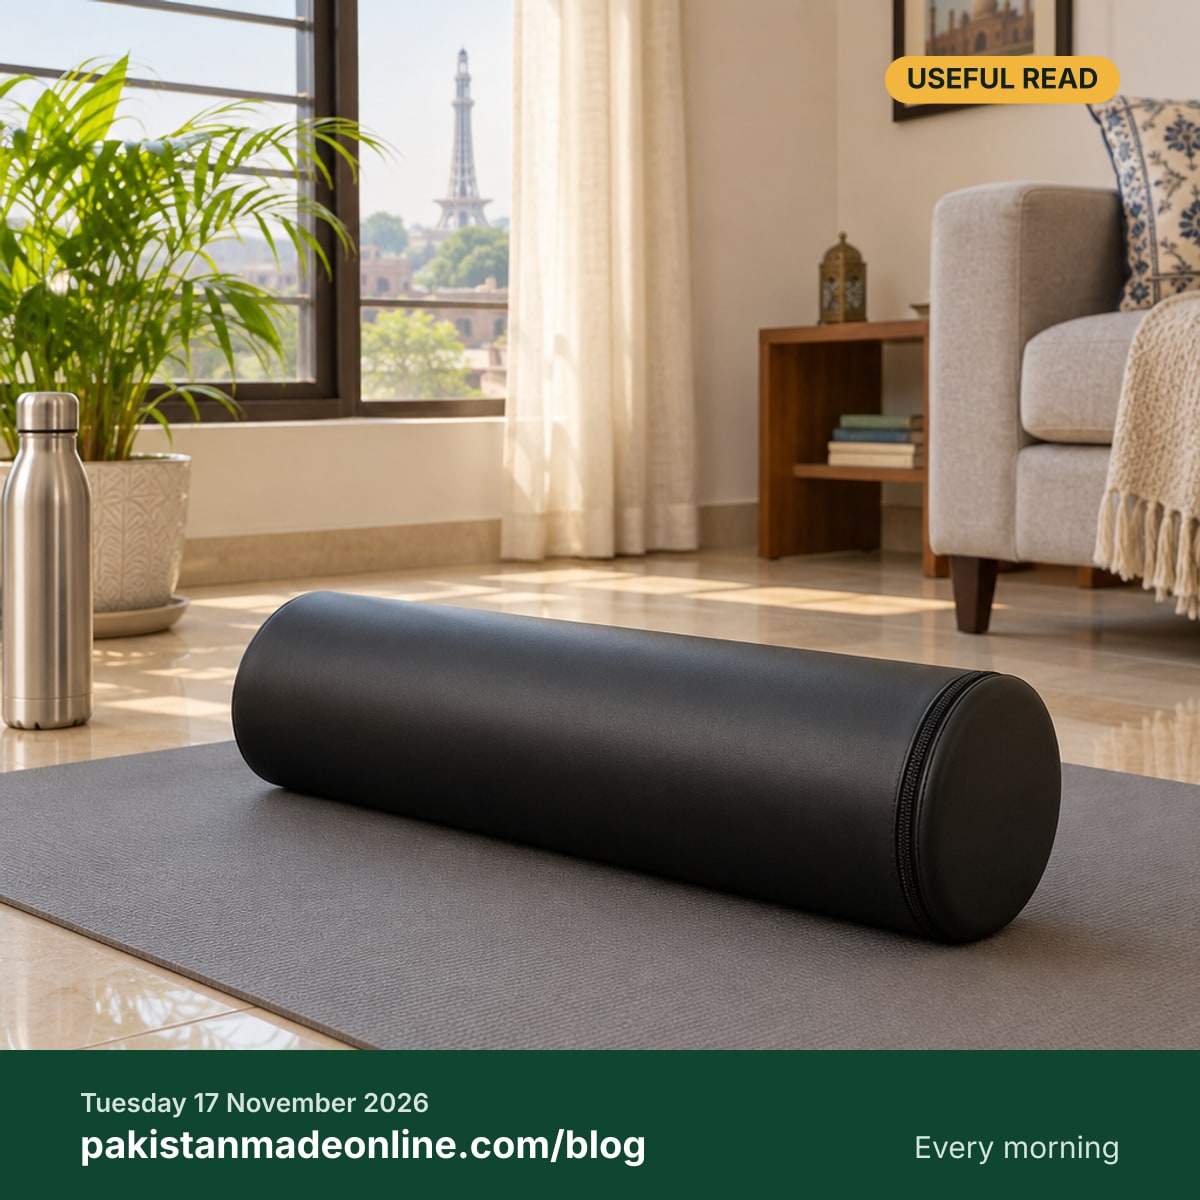
How to use a foam roller comes down to one idea: put the roller under a part of your body, rest some of your weight on it, and move slowly back and forth across it, pausing where it feels like it is doing something. Slow beats fast, and less weight beats more when you start. Here is a ten-minute routine for home, with eight moves, using an 18-inch roller on a mat or a carpet.
Before you start
- A mat or carpet, not a bare tiled floor, so your hands and knees are comfortable.
- Loose clothes. A roller works through a T-shirt and tracksuit bottoms; it does not need skin contact.
- Go slowly: about one inch per second. Breathe normally.
- Keep your weight on your hands and feet as well as the roller at first; add weight over a week or two.
- Roll the fleshy parts (calves, thighs, upper back, shoulders). Do not roll directly on the knee, the lower back, the neck or any bony point.
- Stop if anything feels wrong rather than pushing through. This is a stretching routine, nothing more; if you are not sure it is suitable for you, ask someone qualified before you start.
The eight moves
1. Calves (1 minute). Sit with your legs straight and the roller under both calves, hands behind you. Lift your hips a little and roll from the ankle to just below the knee and back. Cross one ankle over the other for more weight on one calf.
2. Back of the thighs (1 minute). Same position, roller under the hamstrings. Roll from just above the knee to just below the hip.
3. Front of the thighs (1 minute). Lie face down, roller under the front of both thighs, forearms on the floor like a plank. Roll from above the knee to the hip crease. This is usually the strongest sensation of the eight; take it slowly.
4. Outside of the thighs (30 seconds a side). Lie on your side with the roller under the outer thigh, the other foot on the floor in front for balance and to control the weight. Roll from the hip to above the knee.
5. Upper back (1 minute). Lie on your back with the roller across the shoulder blades, hands behind your head, hips off the floor. Roll from the shoulder blades to the mid-back and no lower. Keep the hips lifted so the roller does not reach the lower back.
6. Shoulders and sides (30 seconds a side). Lie on your side with the roller under the back of the shoulder, arm stretched overhead. Small movements, a few inches each way.
7. Plank on the roller (30 seconds). Forearms on the roller, body straight, feet on the floor. The roller wants to move; keeping it still is the exercise. Progress by holding longer, not by doing more.
8. Kneeling balance (30 seconds). Kneel with both shins on the roller, hands on the floor in front, then lift the hands if you can. A good finish, and a party trick after a week.
That is about ten minutes. Do it after a walk or a workout, or in the evening in front of the television; the routine does not care.
Using it in yoga and pilates
The same roller is a prop. Put it under the knees in a lying rest, under the back, lengthways, for a chest-opening stretch (head and tailbone both supported), or under the hands in a kneeling position to raise the floor. In a class, a smooth roller with a cover is easy to wipe between students, which is why studios buy several.
Looking after it
Wipe the PU leather cover with a damp cloth after use and let it air. Unzip the cover for a proper wash now and then; dry it fully before putting it back. Keep it out of direct sun, which hardens PU leather over time. Stored standing up in a corner, an 18-inch roller takes the floor space of a water bottle.
Which roller for this routine
Everything above is written for a firm, smooth, 18-inch roller, which is what we sell: the Foam Roller, 18 × 5.5 inches, black or blue, Rs 2,500, delivered across Pakistan. If you are still choosing, Which foam roller should you buy? covers size, firmness and covers in five minutes, and the roller and bolster guide explains when a half-round bolster is the better prop.